Showing posts with label Section 47. Show all posts

Sunday, February 2, 2020

Section: 47
Hours: 6

I have not had any success closing the cowling since I added the rubber baffling. I could not get the upper and lower cowling halves to join. Some of my friends advised putting heavy sand bags on top of the cowl to force it closed, but I don't think that is the problem. Today I spent some time investigating what was causing the gap and discovered that the baffling on the upper side of the air inlets was getting stuck on the epoxy/flox dam build up on the upper cowl. I got out the dremel with a sanding drum and whittled back the dams.


The rubber gasket now smoothly fits inside the inlet side and it is easy to close the cowl halves! Through trial and error I have now discovered an order for attaching the cowl halves that works. First install the lower cowl. Then place the upper cowl on the fuselage. Match up the piano hinge along the top fuselage then make sure the rubber gaskets are in place around the air inlets at the front. Then press down and match up the piano hinge along the lower edge of the cowl. Push the piano hinge pins in from the front to join the lower and upper halves. Finally, insert the cowl to fuselage piano hinge pins through the oil door.

Thursday, November 22, 2018

Section: 47
Hours: 2

I installed the baffle on the other inlet today.

Wednesday, November 21, 2018

Section: 47
Hours: 6

The flox fillets on the lower cowl turned out nice.

I used the dremel and sand paper to finish shaping the flox and matched upper cowl to the lower cowl inlets.


Next I fitted and installed the inlet baffle.


Tuesday, November 20, 2018

Section: 47
Hours: 6

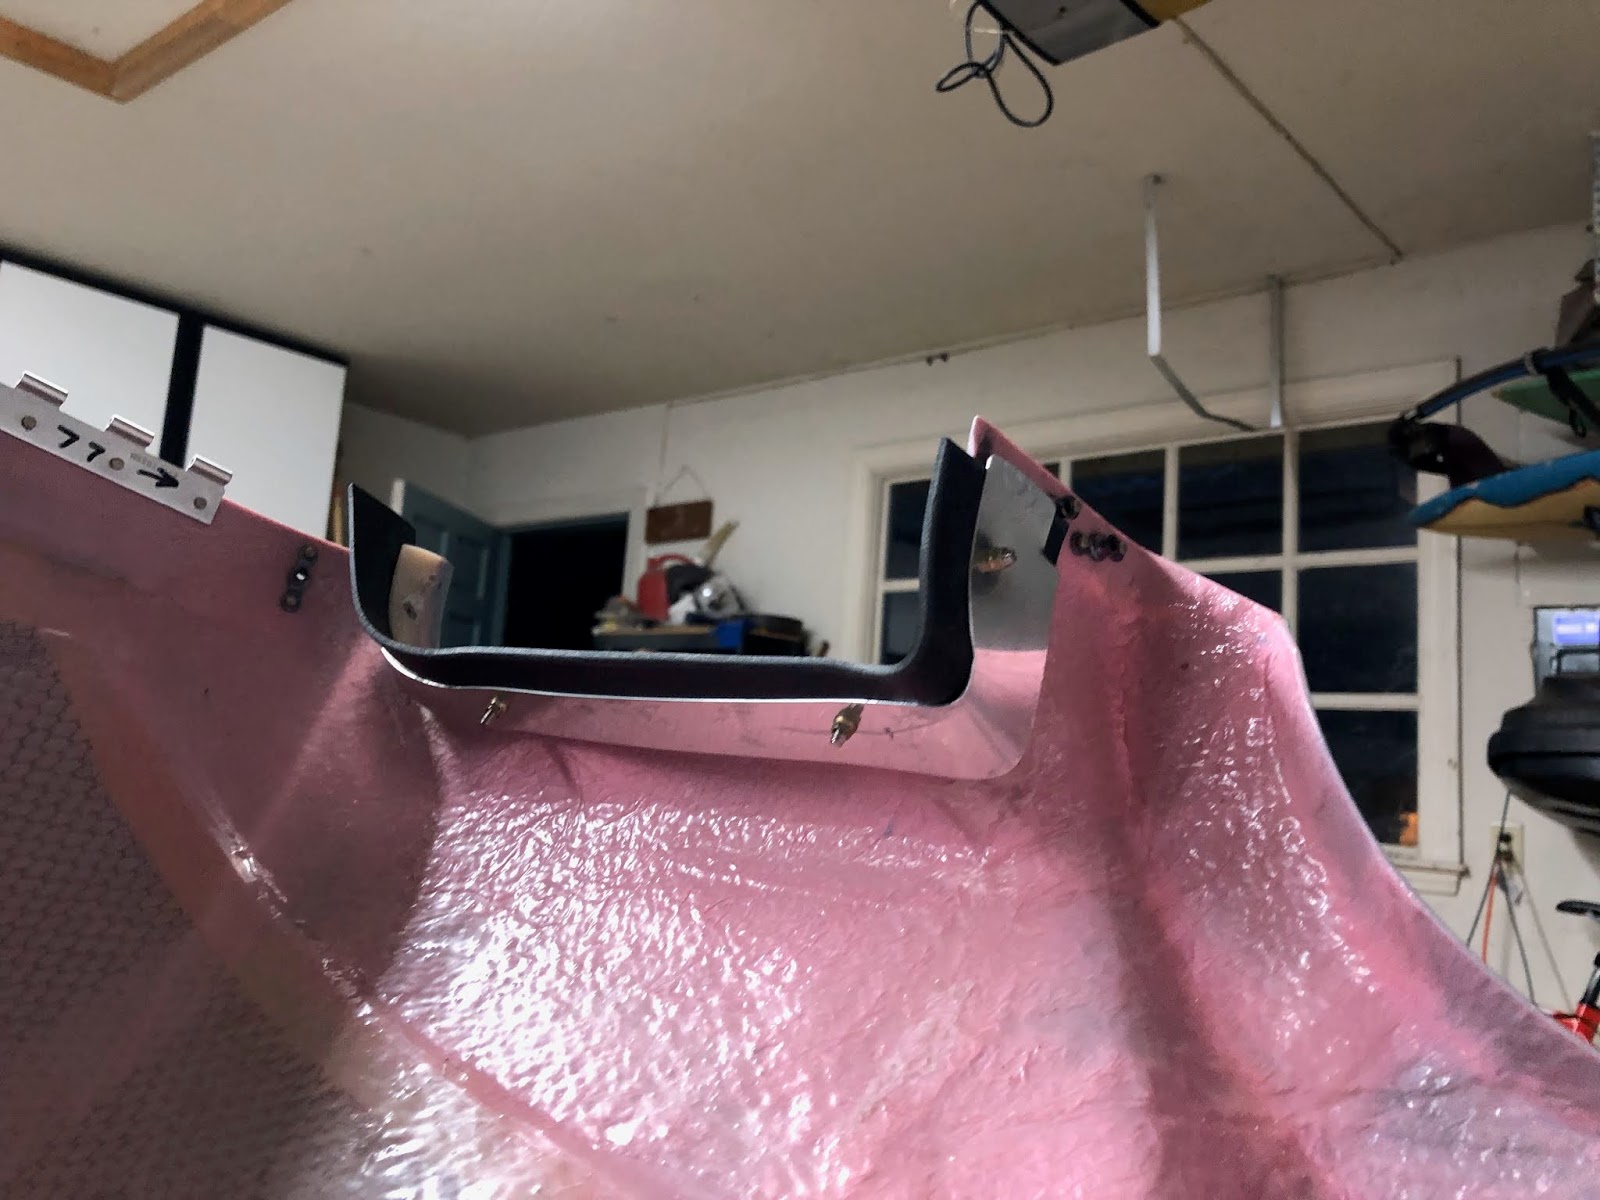
Today I shaped the flox fillets around the cowl inlets. You grind through the fiberglass of the cowl into the flox to create a rounded inlet.


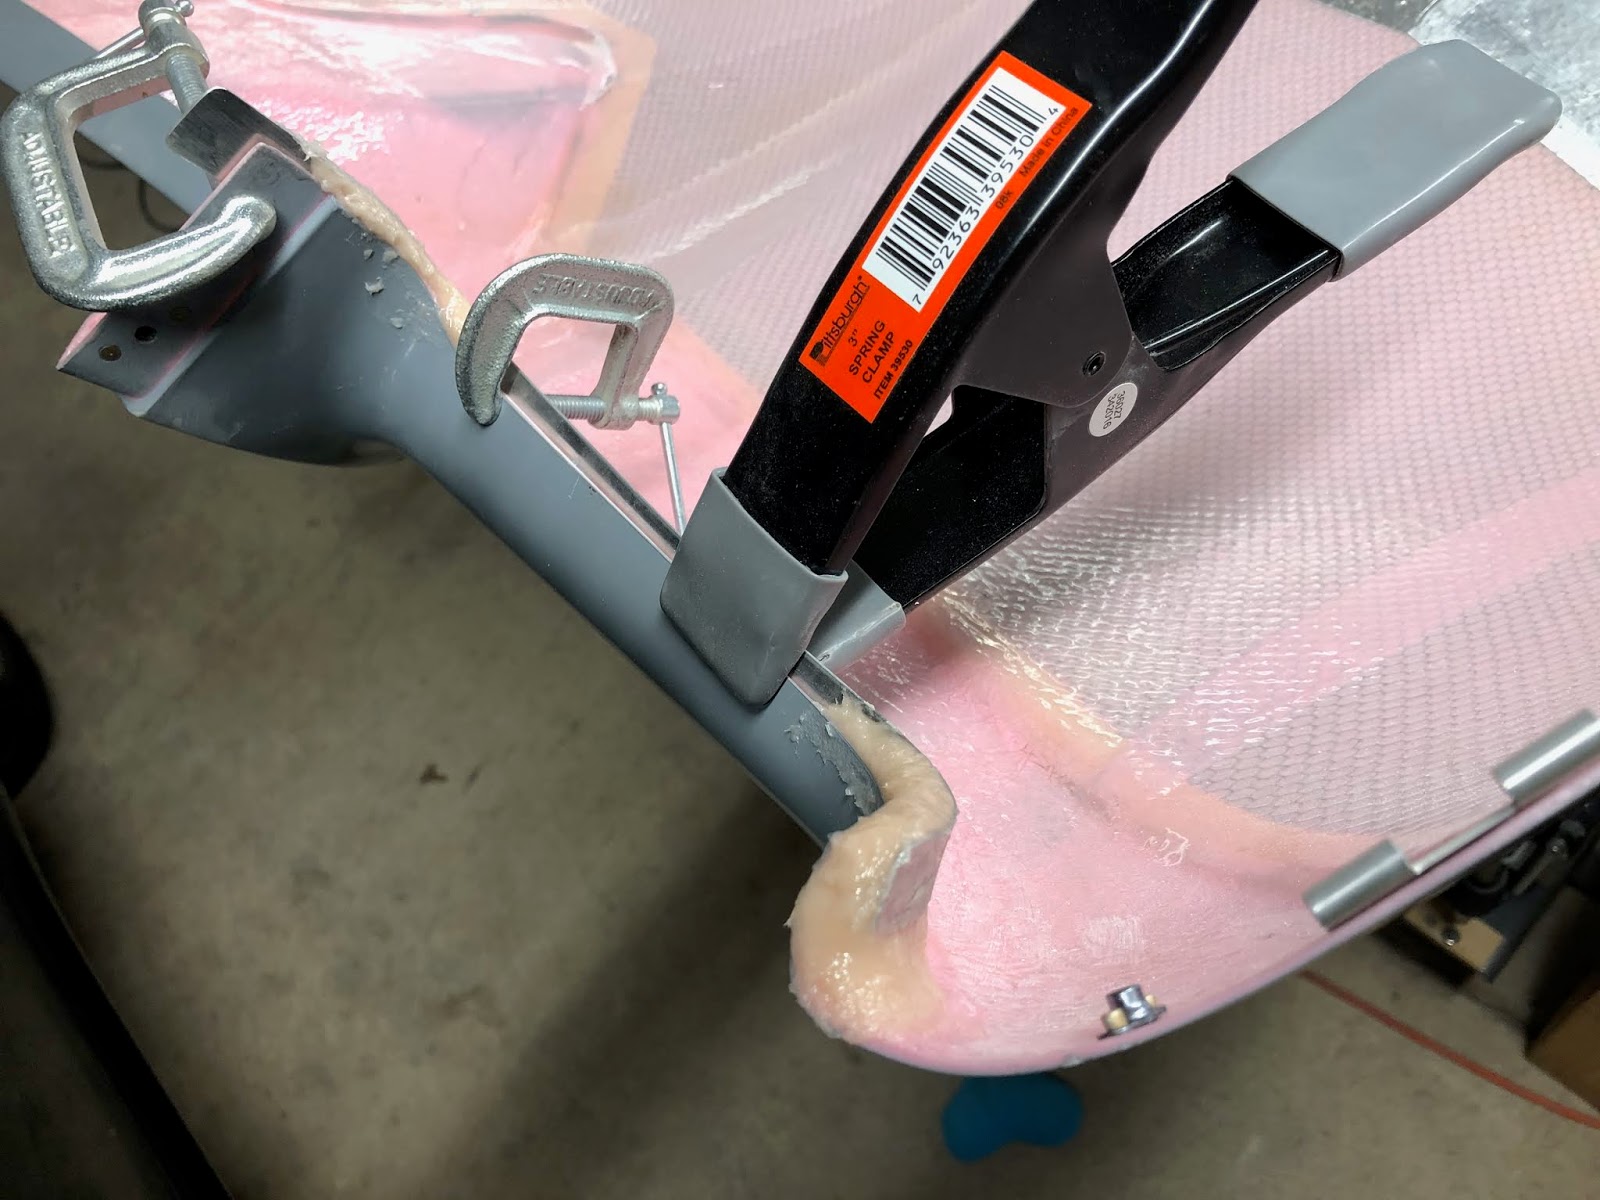
Next I added a fillet to the lower cowl inlets. The plans specify to just glob the flox on and hold it in place with peel ply. Instead, I built a couple aluminum sheet metal dams to mold and hold the flox in place.

A little duct tape holds them in place. Here is the flox flowed in behind the dams. I think this will produce a little cleaner fillet.


Monday, November 19, 2018

Section: 47
Hours: 6

Today I worked on shaping the lower cowl air inlet ports. The plans give detailed instructions on how to measure offsets and set up some aluminum strips for molding flox / epoxy around the inside of the inlets.


Friday, November 16, 2018

Section: 47
Hours: 4

The cowl baffle seals come pre sized, punched and ready to install in the RV14 kit. I understand this is a big improvement over previous kits. They were easy to install.


Thursday, November 15, 2018

Section: 47
Hours: 4

Today I installed the right air ramp cone. I aligned the front edge of the cone with the lower deck rather than the sidewall.


I also bent up the transition flange on the air filter frame.

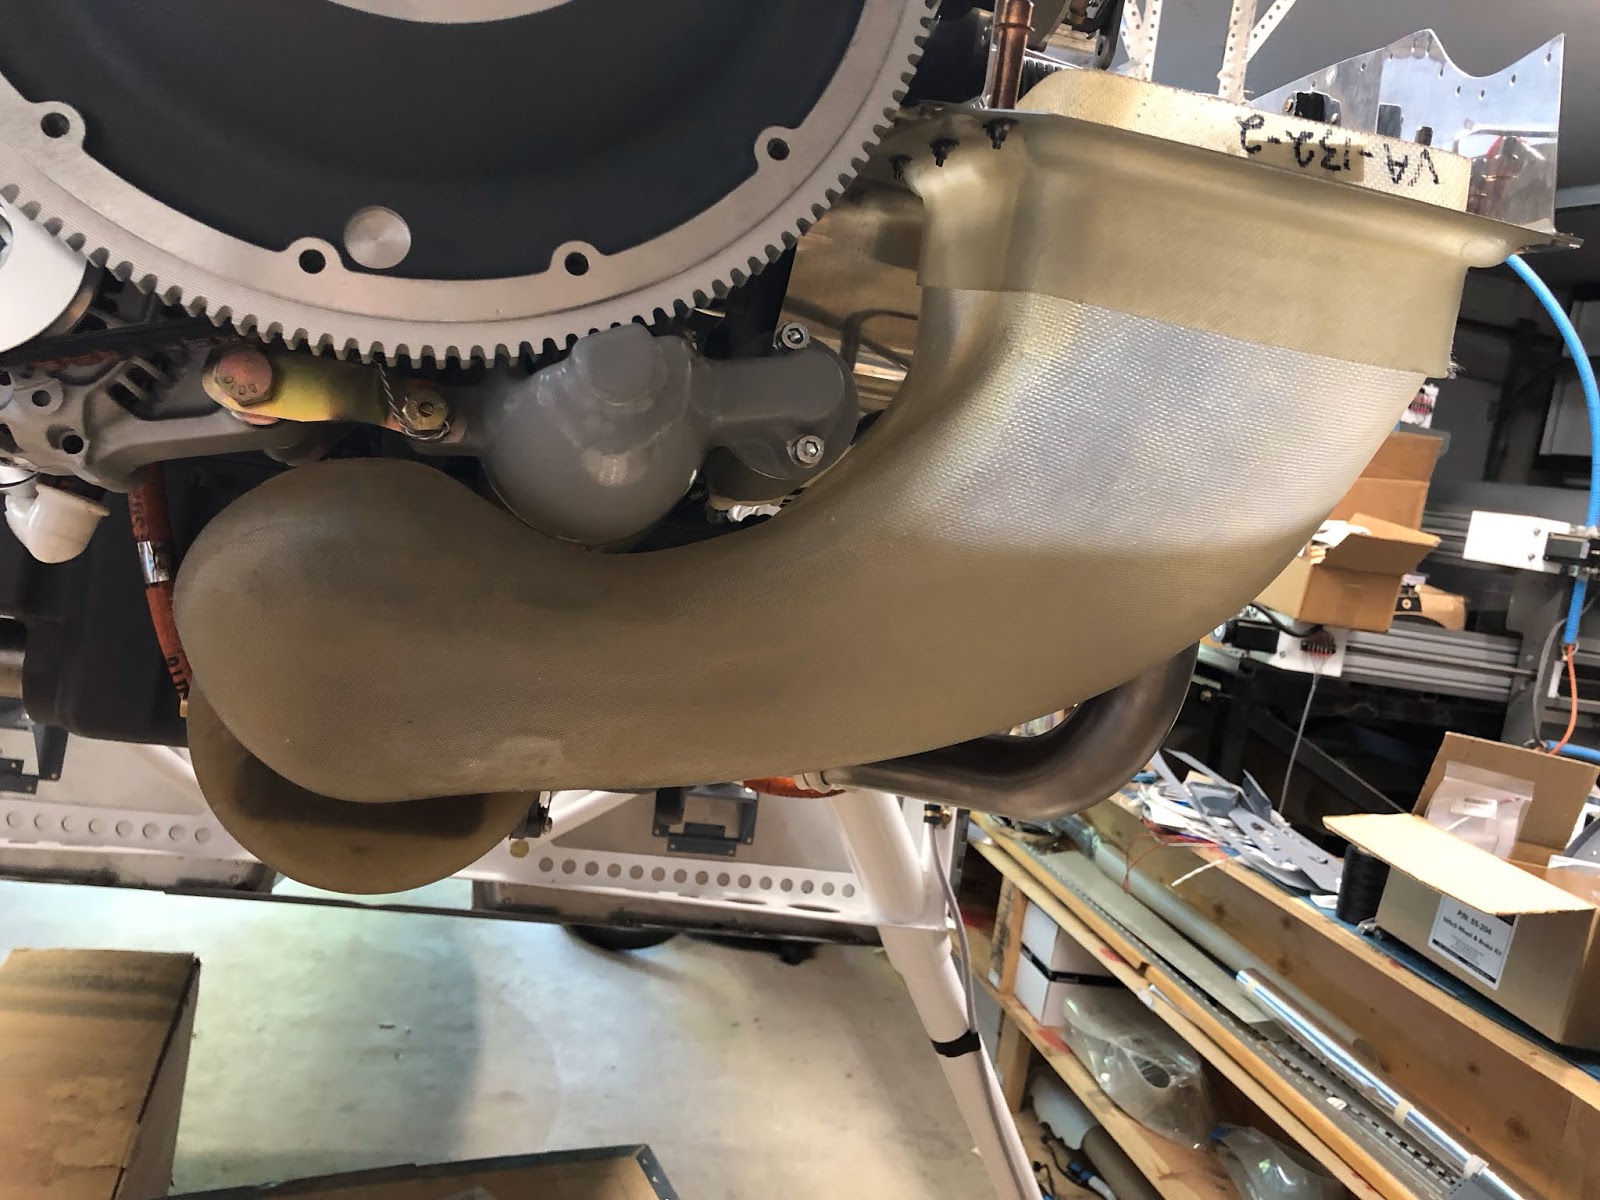
Here is the assembly from below. I also painted the outside of the snorkel with aluminum paint- looks cool and may help with uv protection down the road. Not that it will normally be exposed to sun...

Sunday, November 11, 2018

Section: 47
Hours: 1

I sealed the outside and flange edges of the snorkel with resin. It has gotten cold in the garage so the snorkel is sitting on my desk inside while the resin cures.

Thursday, November 8, 2018

Section: 47
Hours: 4

I finished up the alternate air door installation and smoothed out the flox fillet.


Wednesday, November 7, 2018

Section: 47
Hours: 4

Today I cut out the hole for the alternate air door in the snorkel.

I fitted the door assembly and built up a flox fillet around it.

Tuesday, November 6, 2018

Section: 47
Hours: 5

I finished up the snorkel flange and drilled holes to final size using the template (see previous post). Then I spent some time adjusting the fit between the snorkel and the air filter frame.


The snorkel slides into the air filter frame. The fit has to be adjusted by sanding the outside of the snorkel to match the inside of the filter frame. There is play in the fit and the filter frame can be moved up/down on the neck of the snorkel.

It is important to set the height of the top of the filter frame so that the rubber gasket from the lower cowling will fit over the top of the frame. I mounted the lower cowl and slid the snorkel neck into a position that I believe will allow room for the gasket. You need to allow about 1/4 inch.

I finished today bending the corner fillet for the filter frame. I scribed the bend lines from the template to the aluminum and bent it in the vise.

Sunday, November 4, 2018

Section: 46B
Hours: 2

I cleaned up the upper fairing trailing edges. Just about finished with section 46B. The wheel fairings are a lot of work!!!

Section: 47
Hours: 2

I started work on the engine air intake snorkel. The fiberglass flange bolt holes must be drilled and the snorkel must be aligned with the engine. Here I've used the template provided in the kit to locate the bolt holes.

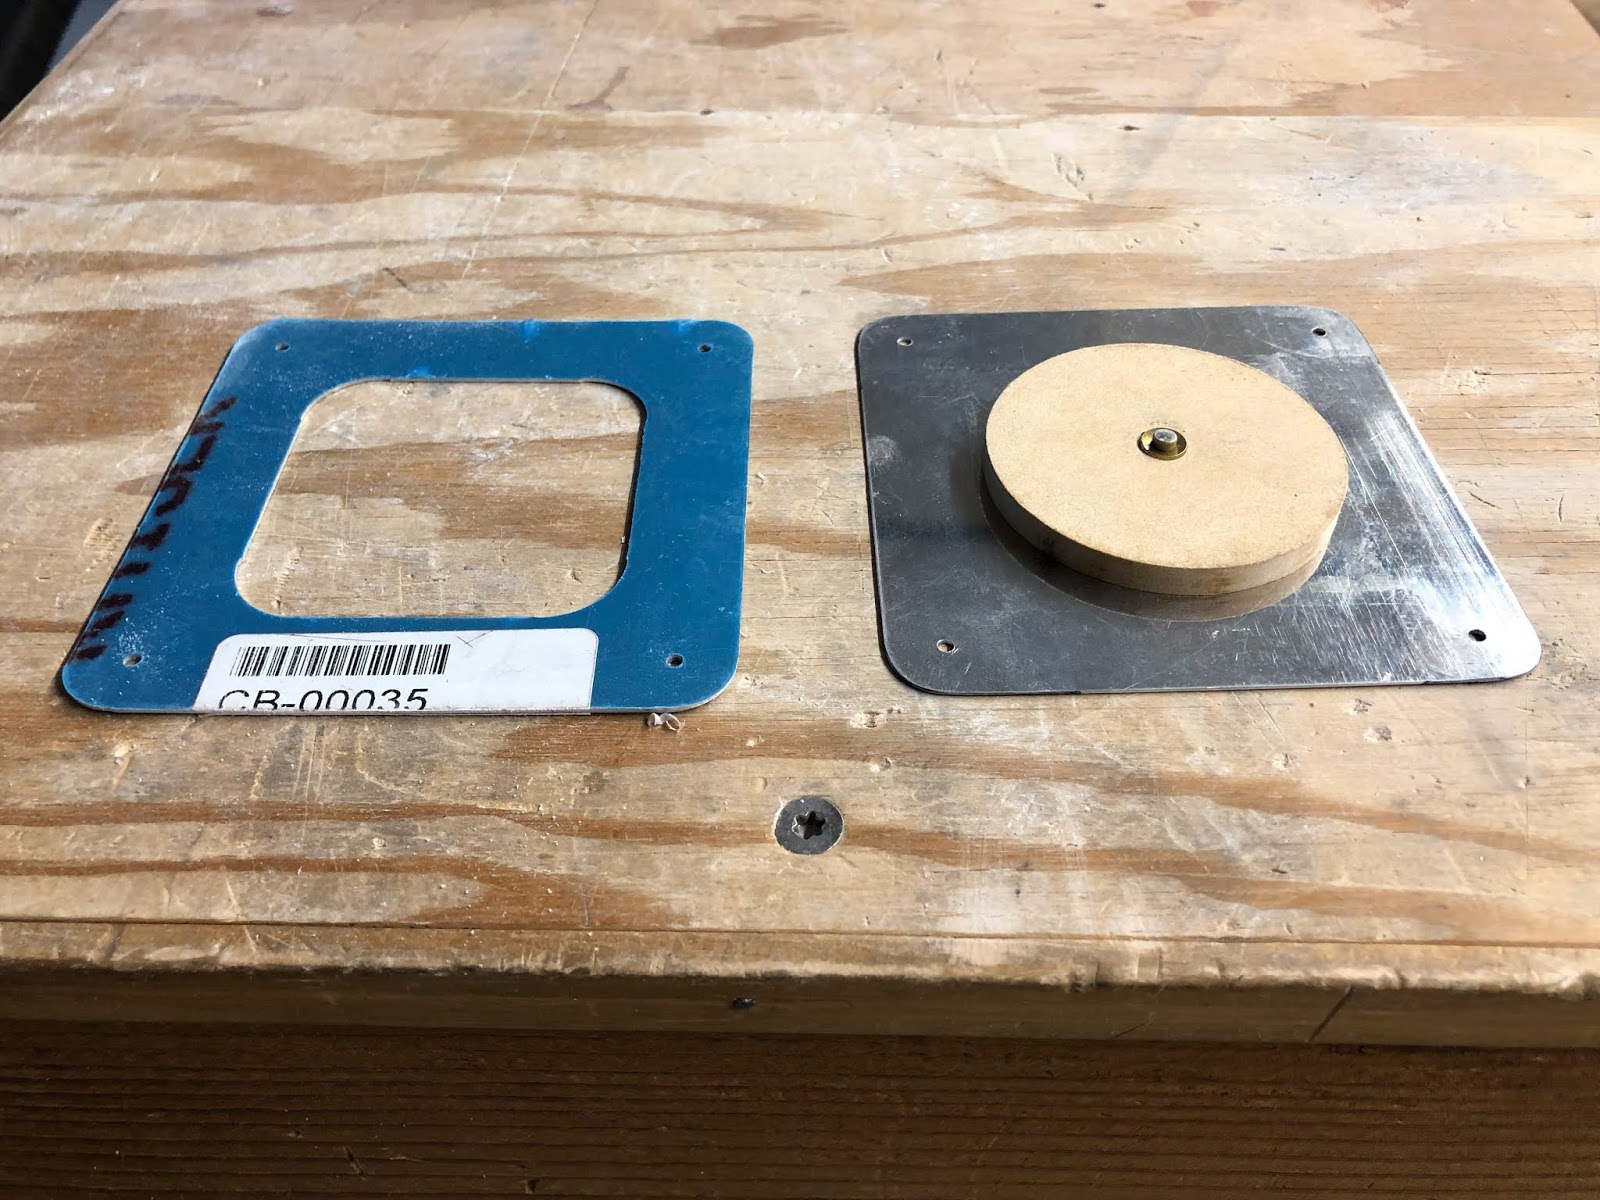
To aid aligning the snorkel with the engine, I built an aluminum spacer plate with a composite board circular hole that will be inserted in the engine inlet hole and align with the flange of the snorkel.


Friday, July 20, 2018

Section: 47
Hours: 2

The snorkel is supposed to be aligned with the fuel injection servo. Then you match drill the snorkel flange to the fuel injection servo flange. I fabricated an aluminum jig with a circular wood plug the size of the snorkel inlet to aid with alignment.

Here the jig is duct taped to the field injector servo. When I mount the snorkel, it will automatically center on the jig.


Tuesday, July 3, 2018

Section: 47
Hours: 2

I installed the tension rods at the bottom of the baffles.

Next I installed the fuel injector servo, main fuel line and began fitting the fiberglass snorkel.